


Latest Posts

Exploring Free Software Solutions for Fixing Computer Problems
Every computer user, at some point, encounters challenges that disrupt the normal flow of work. From unresponsive applications to frequent crashes, these issues can lead to an overwhelming sense of frustration. Fortunately, there’s good news for those on a budget:…
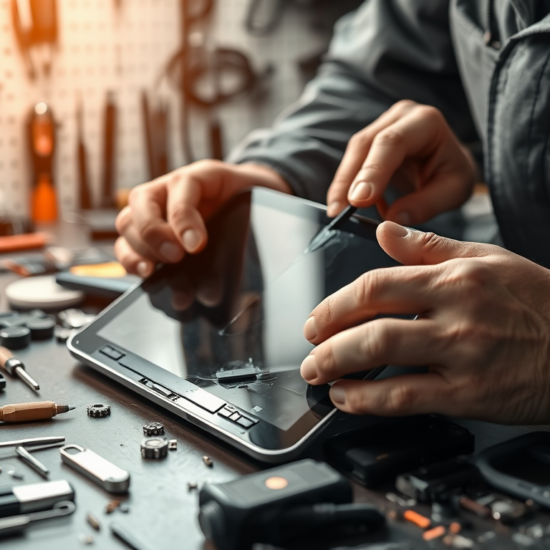
The Do’s and Don’ts of Fixing a Broken Tablet Screen
In an age where convenience is paramount, tablets serve as our gateway to a connected world. They help us work on the go, entertain ourselves during commutes, and even stay connected with loved ones. However, when faced with a broken…

Top Tips for Finding a Reliable Console Repair Service
Finding a reliable console repair service can feel like navigating a minefield of options, each promising to fix your valuable gaming system. With countless services vying for your attention, it’s crucial to make an informed choice that ensures both quality…

Understanding Phone Upgrades: When Is It Worth It?
In the fast-paced world of technology, smartphones have become an essential part of our daily lives. Keeping up with the latest advancements can feel like a race against time. However, knowing when to upgrade your phone is crucial not only…

The Top 5 Hacks for Mobile Devices: Enhance Your User Experience
In today’s fast-paced world, our mobile devices serve as our lifelines to the digital realm. They connect us to our friends and family, provide instant access to information, and keep us entertained on the go. However, navigating through the plethora…

The Top Signs That Your Phone Might Have a Virus
In today’s digital world, phones are more than just communication devices; they are archives of our personal lives, financial details, and private conversations. However, with this reliance comes the risk of malware and viruses that can invade our smartphones. Understanding…

Five Essential Tricks to Customize Your Android Phone
In a world where smartphones have become an extension of our identity, customizing your Android phone can enhance both functionality and aesthetics. Your device is not just a tool; it’s a reflection of your personality and lifestyle. The stock settings…

How to Troubleshoot a Slow Internet Connection at Home
Slow internet can feel like an intolerable restriction in our increasingly connected world. Whether you’re trying to stream your favorite show, participate in a video call, or simply browse the web, a lagging connection can frustrate everyone in the household….

A Comprehensive Guide to Buying a Used Mobile Phone
In an age where technology evolves at lightning speed, owning a mobile phone is almost a given. However, the price tag associated with brand-new models can be prohibitive for many. This is where the option of buying a used mobile…

Top Tips to Prevent Your Phone from Overheating
In today’s fast-paced world, our smartphones are essential tools that keep us connected, informed, and entertained. However, with increased usage, many users find their devices heating up more frequently. This overheating not only affects performance but can also lead to…